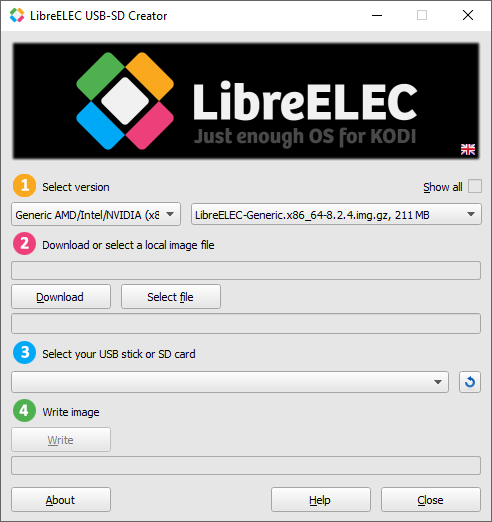
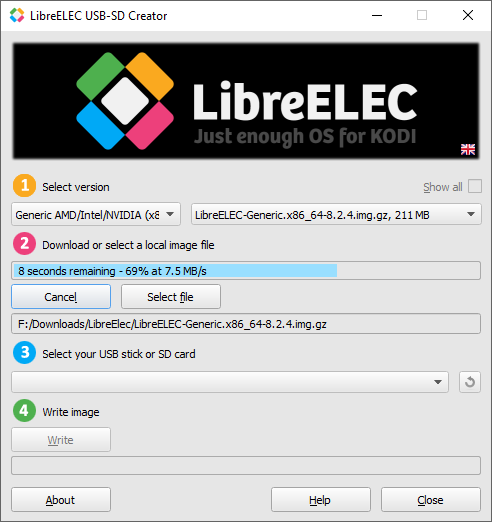
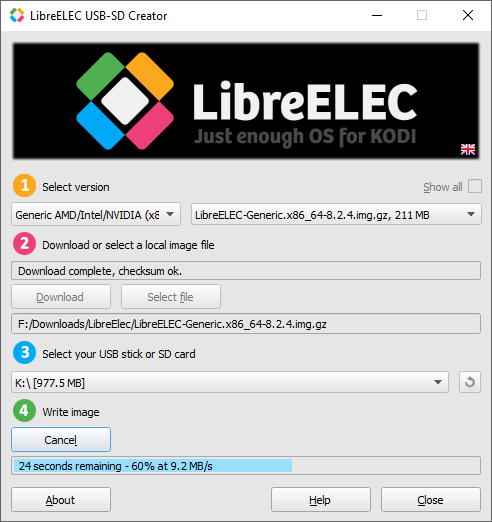
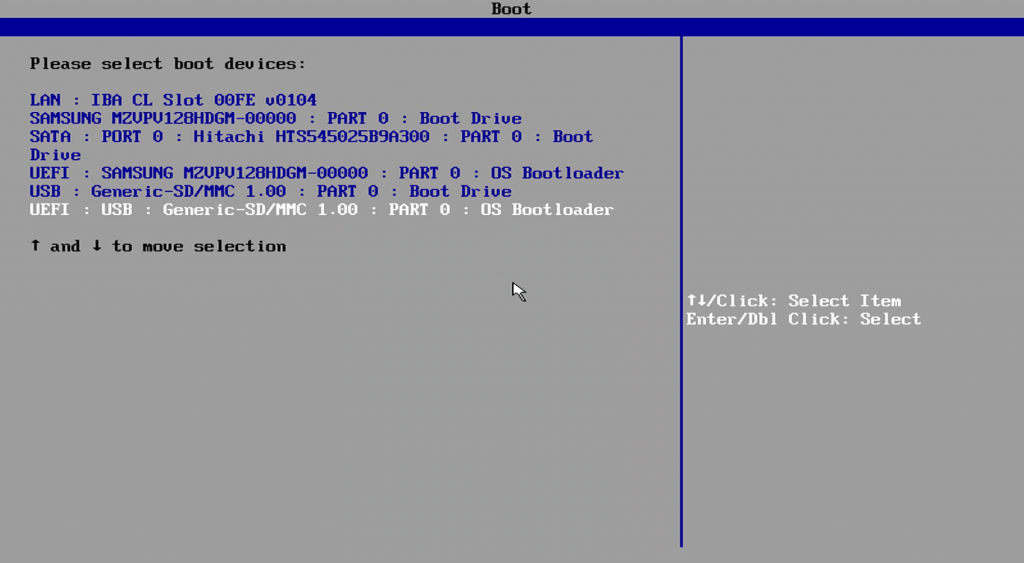
STEP 1: Install NUC components (NUC, memory and disc drive)
EDIT: November 2018: The latest LibreElec/Kodi Leia now supports Hires Multichannel audio on 7th and 8th generation NUCs. No need to find an 5th gen NUC as described here. Installation is same, just use LibreElec 9 or later. This is currently in alpha at 1st Nov 2018 but is very stable. I am using it daily.
-----------------
NOTE: The components to build this Intel NUC Media Player can be found on this post (a little under $400): https://www.quadraphonicquad.com/forums/index.php?threads/media-players-095.24745/#post-367075
-----------------
So you've purchased a new Intel NUC to use as a Media Player. Congratulations! This will give you an extremely fast media player for MCH music (up to 7.1 192kHz/24 bit and play 1080p HD video with DTS-HDMA, Atmos hires audio etc via HDMI pass-through to your AVR)
The NUC comes as a 'barebones' micro PC and won't run without adding memory and non-volitile storage (like a disc drive, but I recommend using a solid state SSD drive as these things fly, no moving parts):
Once your bits arrive, unbox everything. You'll need a small screwdriver to install parts and a USB thumb drive (min 500MB) to install the operating system and Kodi media player software. You will also need a USB keyboard to complete the s/w install and configure Kodi.
1. Turn the NUC upside down:
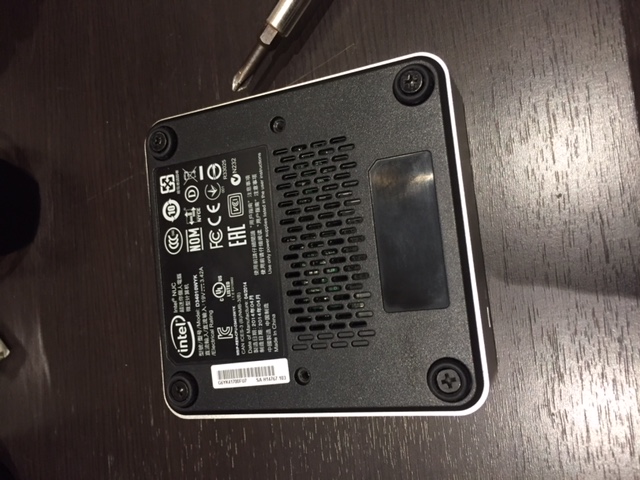
Unscrew the 4 retaining screws in the 'feet' (they won't come completely out). Once loosened you can separate the base (black) from the silver housing (top). You may need to pry it open using a knife or small screw driver. The black base has no electronics, its effectively an upside-down lid. Please note its orientation so you can fit the base back on completion.
2. Once the base is off turn it up with silver top now on desk with all the electronics housed in this section:
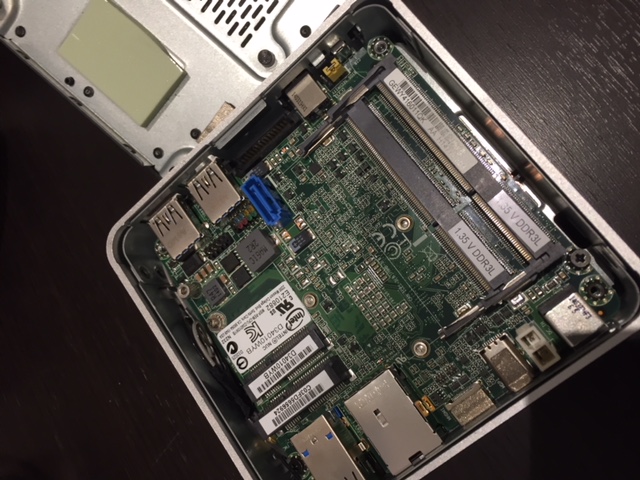
On the 4th Gen NUC (in these photos) you will see 4 long sockets. The SSD will fit into the short socket at bottom left of the photo above. The memory fits into the long socket(s) at right marked 1.35V DDR3L
3. Insert the SSD drive
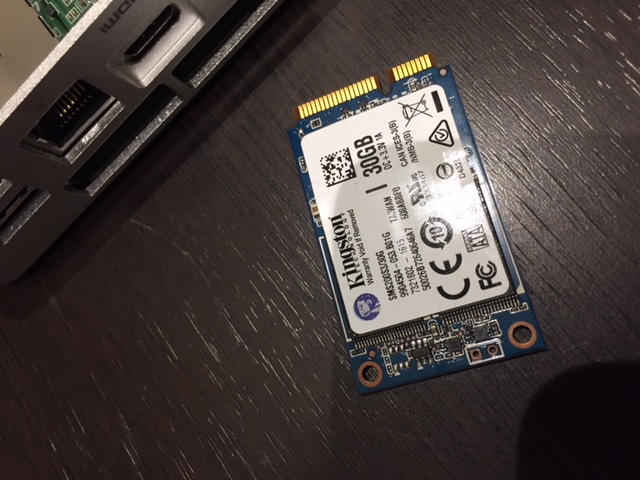
The SSD drive has a SATA style connector. Insert it as follows, but you'll need to unscrew and remove a small screw used to hold down the SSD (where the hole is at extreme top right of next picture)
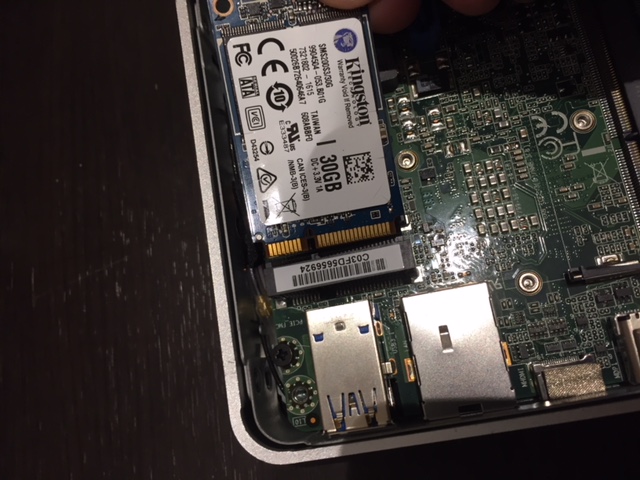
Push gently and it will insert and cover all the pins. Now gently push it down to sit flat and screw in the retaining screw in the large hole (see above extreme top right)
4. Insert Memory (NOTE: You may have one single RAM module or you may have two - fit whatever you have)
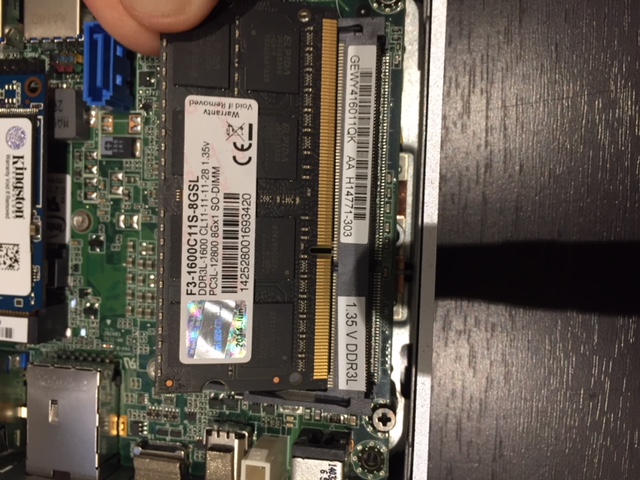
Slide RAM into each socket, ensure the module is correctly oriented. If you have two do the bottom one first. Once inserted push the module gently down flat and it will click into place and be held down.
5. Reassemble
Your done. Please place the top back on the black base (ensure this is oriented properly).
Here’s a YouTube video of someone installing a similar model NUC. Please ignore the wifi module:
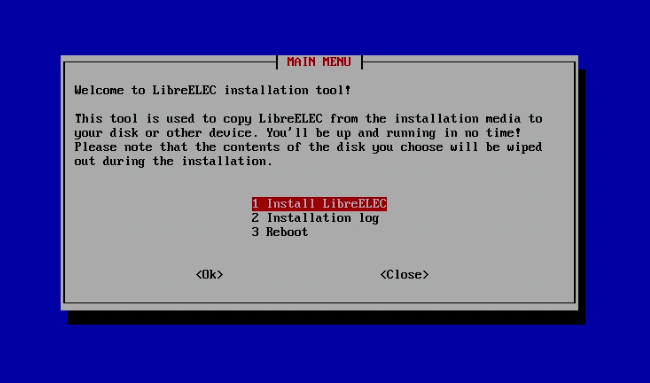
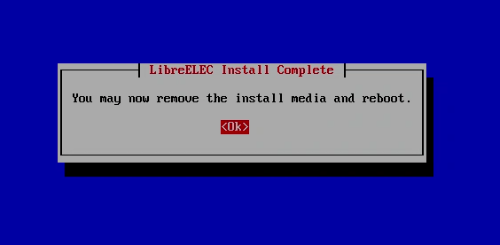
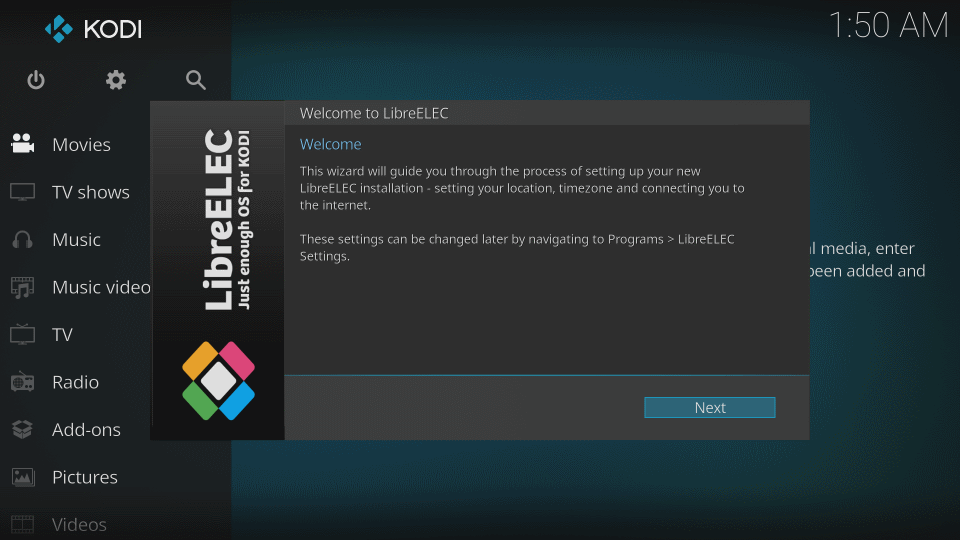
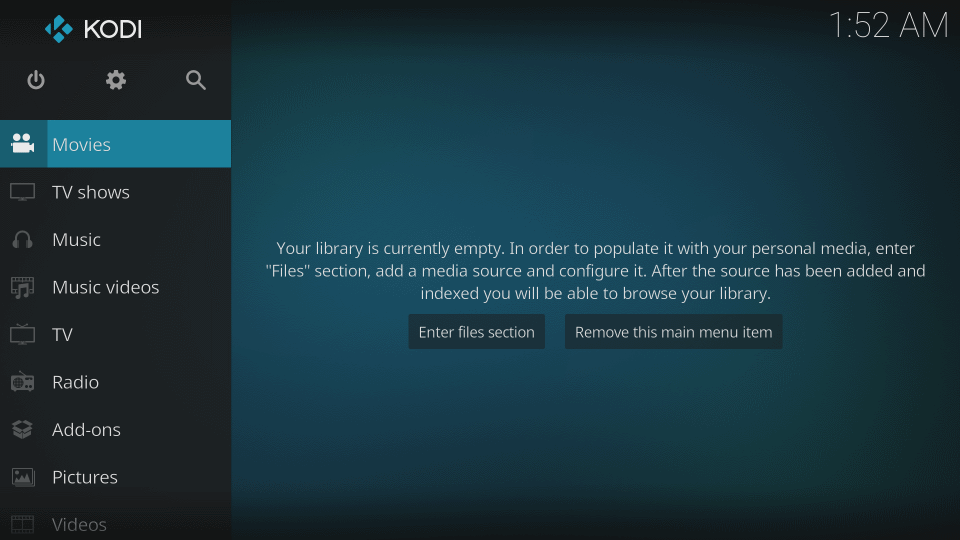
NEXT STEP: Install the Operating System with Kodi Media Player Software (LibreElec = Linux and Kodi)
EDIT: November 2018: The latest LibreElec/Kodi Leia now supports Hires Multichannel audio on 7th and 8th generation NUCs. No need to find an 5th gen NUC as described here. Installation is same, just use LibreElec 9 or later. This is currently in alpha at 1st Nov 2018 but is very stable. I am using it daily.
-----------------
NOTE: The components to build this Intel NUC Media Player can be found on this post (a little under $400): https://www.quadraphonicquad.com/forums/index.php?threads/media-players-095.24745/#post-367075
-----------------
So you've purchased a new Intel NUC to use as a Media Player. Congratulations! This will give you an extremely fast media player for MCH music (up to 7.1 192kHz/24 bit and play 1080p HD video with DTS-HDMA, Atmos hires audio etc via HDMI pass-through to your AVR)
The NUC comes as a 'barebones' micro PC and won't run without adding memory and non-volitile storage (like a disc drive, but I recommend using a solid state SSD drive as these things fly, no moving parts):
Once your bits arrive, unbox everything. You'll need a small screwdriver to install parts and a USB thumb drive (min 500MB) to install the operating system and Kodi media player software. You will also need a USB keyboard to complete the s/w install and configure Kodi.
1. Turn the NUC upside down:

Unscrew the 4 retaining screws in the 'feet' (they won't come completely out). Once loosened you can separate the base (black) from the silver housing (top). You may need to pry it open using a knife or small screw driver. The black base has no electronics, its effectively an upside-down lid. Please note its orientation so you can fit the base back on completion.
2. Once the base is off turn it up with silver top now on desk with all the electronics housed in this section:

On the 4th Gen NUC (in these photos) you will see 4 long sockets. The SSD will fit into the short socket at bottom left of the photo above. The memory fits into the long socket(s) at right marked 1.35V DDR3L
3. Insert the SSD drive

The SSD drive has a SATA style connector. Insert it as follows, but you'll need to unscrew and remove a small screw used to hold down the SSD (where the hole is at extreme top right of next picture)

Push gently and it will insert and cover all the pins. Now gently push it down to sit flat and screw in the retaining screw in the large hole (see above extreme top right)
4. Insert Memory (NOTE: You may have one single RAM module or you may have two - fit whatever you have)

Slide RAM into each socket, ensure the module is correctly oriented. If you have two do the bottom one first. Once inserted push the module gently down flat and it will click into place and be held down.
5. Reassemble
Your done. Please place the top back on the black base (ensure this is oriented properly).
Here’s a YouTube video of someone installing a similar model NUC. Please ignore the wifi module:
NEXT STEP: Install the Operating System with Kodi Media Player Software (LibreElec = Linux and Kodi)
Last edited:


